

Every pet owner wants their companion to be happy and healthy, yet many overlook a critical part of the grooming routine: the ears. Understanding how to clean dog ears is not just about vanity; it is about preventing painful signs of infection and ensuring long-term comfort. This comprehensive guide covers dog ear cleaning at home, how to pick a safe dog ear cleaner, how to use a dog ear cleaning solution correctly, and the most common mistakes people make when cleaning dogs ears. If you have ever wondered how to clean your dog like a professional, you are in the right place.
Featured Snippet: The Quick Answer
To perform a safe routine maintenance cleaning, you should use a vet-approved ear cleaning solution and cotton balls. Fill the ear canal, massage the base for 30 seconds, and let your dog shake. This process removes waxy buildup and prevents bacteria and yeast from growing. However, if you see redness, smell a foul odor, or notice ear discharge, stop immediately and seek professional veterinary checkups
Dog Ear Cleaning Basics: When to Clean vs When to Stop
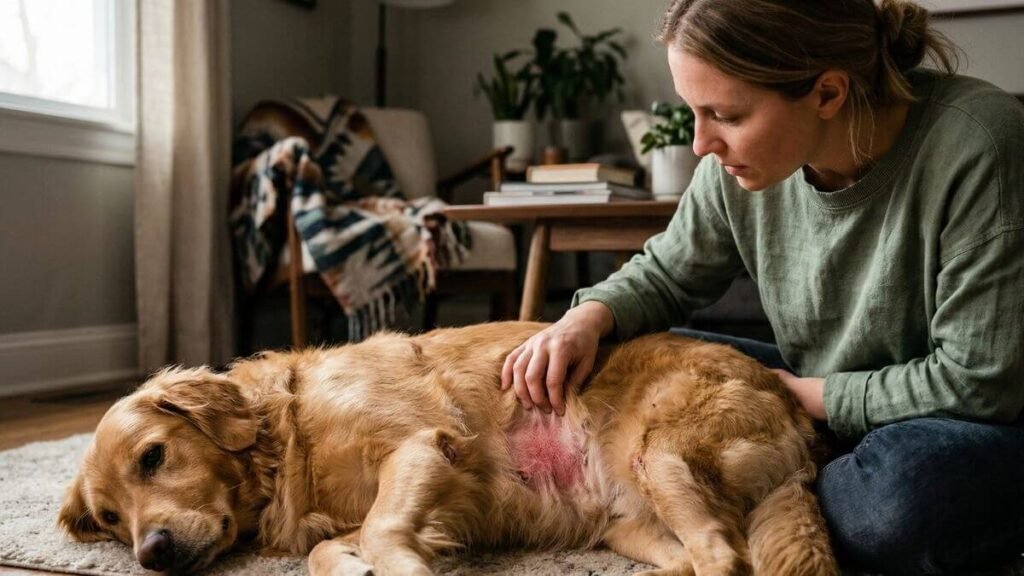
Before you start, you must understand the basics of ear anatomy. Unlike humans, a dog’s ear canal is shaped like an L. This unique structure is excellent for hearing but terrible for hygiene because it easily traps moisture, debris, and bacteria and yeast. A healthy ear should look light pink, be odorless, and feel cool to the touch.
Signs your dog’s ears likely need cleaning:
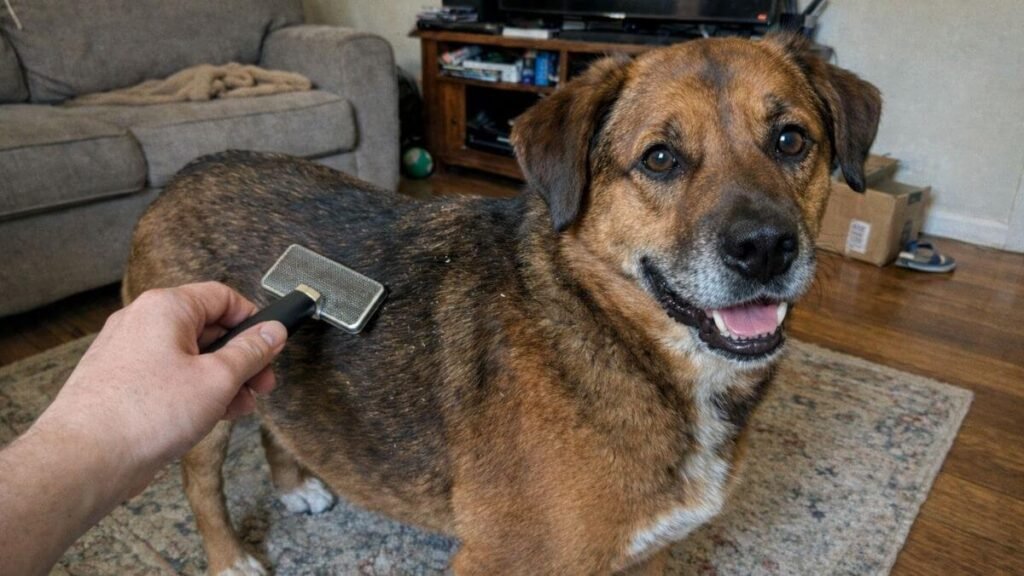
A regular maintenance routine is essential for large-breed dogs and those with floppy ears, such as Bassets or Spaniels. These breeds often have limited airflow to the ear flap, which creates a warm environment perfect for underlying conditions to develop. You should look for visible debris or a mild waxy buildup. If your dog is shaking their head or scratching occasionally, it is likely time for a routine maintenance cleaning.
Do NOT clean if you see these (See a vet first):
There is a subtle distinction between dirty ears and a dog ear infection. If you notice abnormal debris such as dark brown specks that look like coffee grounds (a sign of ear mites) or greenish ear discharge, cleaning at home won’t suffice. Furthermore, if you see intense redness or swelling, or if your dog yelps in pain, they may have severe infections or a ruptured eardrum. In these cases, home cleaning can push the infection deeper, leading to chronic ear infections. Always prioritize veterinary checkups when the ears look angry or painful. Not sure if it’s an infection? Read our guide on dog ear infection symptoms to spot early warning signs.
What You Need (Supplies Checklist)
To keep your pup calm and relaxed, you need to be prepared. Using the wrong tools can damage the sensitive tissue inside the ear.
- Gentle Ear Cleansers: Never use products with harsh chemicals. Look for a vet-approved dog ear cleaner.
- Dog Ear Cleaning Solution: A liquid wash is essential to reach the deep part of the ear canal.
- Cotton Balls: These are much safer than swabs. Use them to wipe only the ear flap and the entrance.
- Favorite Treats: Use positive reinforcement by giving favorite treats throughout the session.
- Towel: Essential for catching the mess when your dog shakes.
The Golden Rule: Never use hydrogen peroxide in a dog’s ear. While it is a common household item, it is too abrasive for the ear’s sensitive tissue and can cause bubbling that terrifies the dog and damages the eardrum.
Dog Ear Cleaner vs Dog Ear Cleaning Solution: What’s the Difference?
Many owners use these terms interchangeably, but as a grooming specialist, I differentiate them by their function. A dog ear cleaner is a general category that includes wipes and powders. A dog ear cleaning solution, however, refers specifically to the liquid designed to be poured into the ear canal.
The liquid ear cleaning solution is superior for a deep wash because it can flow down the “L-shape” of the ear anatomy, breaking up abnormal debris that wipes cannot reach. When you are cleaning dogs ears, you need a product that can penetrate the waxy buildup. Choosing a high-quality dog ear cleaner ensures that you are not just moving dirt around but actually removing it.
How to Choose a Dog Ear Cleaning Solution (Simple Label Checklist)
Selecting the right dog ear cleaning solution is the foundation of a successful grooming routine.
What to Look For:
A good dog ear cleaning solution should be pH-balanced for canines. Since dogs can have allergies to synthetic scents, choose a product that is free of harsh chemicals and artificial dyes. Look for gentle ear cleansers that contain drying agents like salicylic acid, especially for dogs that have a regular bath or go swimming often.
What to Avoid:
Avoid any dog ear cleaner that lists hydrogen peroxide or high concentrations of alcohol as primary ingredients. These cause stinging and can worsen irritated skin. If your dog has a history of chronic ear infections, your vet may prescribe topical medications that double as cleansers. Always ensure your dog ear cleaning solution is designed to soothe the skin, not irritate it.
Step-by-Step: How to Clean Dog Ears at Home
Follow this professional method to ensure your dog remains calm and relaxed while you work.
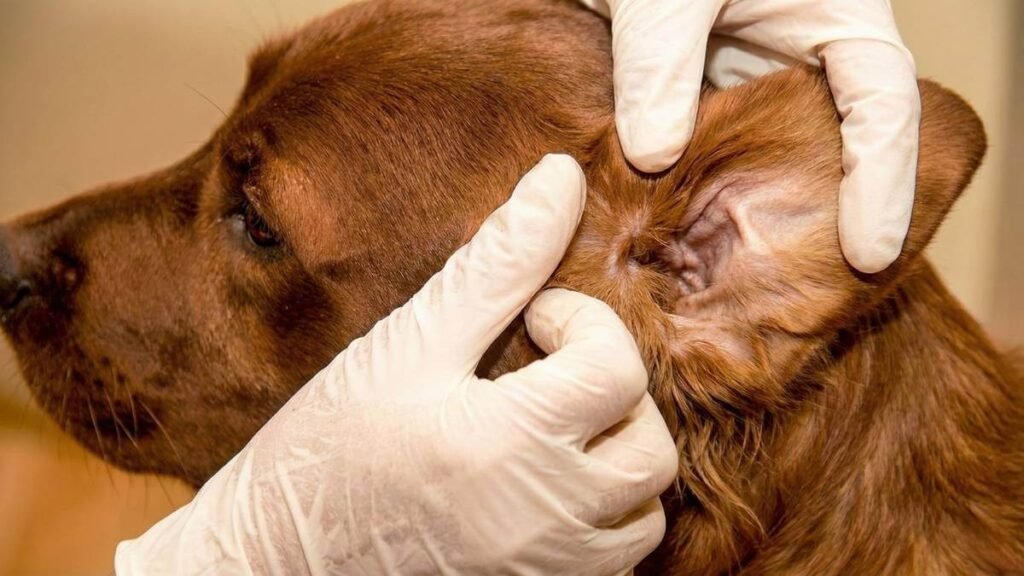
Step 1: Inspect first (look + smell)
Start by lifting the ear flap. A healthy ear is light pink. If you smell a foul odor, it is a classic sign of bacteria and yeast overgrowth. Check for any visible debris before you begin dog ear cleaning.
Step 2: Apply the dog ear cleaning solution
Hold the ear flap upward to open the ear canal. Squeeze the dog ear cleaning solution until the canal is full. Do not let the tip of the bottle touch the ear to avoid spreading bacteria.
Step 3: Massage the base 20–30 seconds
This is the most important step. Massage the base of the ear, the firm area just below the opening. You should hear a “squishing” sound. This action breaks up the waxy buildup deep inside.
Step 4: Let your dog shake
Once you release the ear, your dog will instinctively shake their head. This is wonderful! The shaking brings the abnormal debris to the surface. Use a towel to block the spray.
Step 5: Wipe only what you can see
Take your cotton balls and gently wipe the outer ear flap and the top of the ear canal. Never push the cotton balls deep into the ear, as you could damage the eardrum.
Step 6: Positive Reinforcement
Give your pup their favorite treats and lots of praise. This positive reinforcement ensures that learning how to clean dog ears becomes a bonding experience rather than a chore.
If Your Dog Hates Ear Cleaning (Handling Tips That Actually Work)
If your dog panics during ear cleaning, don’t force it. Most dogs hate the process because of the sound, the cold liquid, or previous pain from an infection. The goal is to make dog ear cleaning feel routine and rewarding, not scary.
Start with the right timing: clean ears when your dog is calm (after a walk or playtime). Choose a quiet room and keep the first session short.
Use micro-rewards: instead of giving a single treat at the end, reward your dog for every small step taken.
- Lift the ear flap → treat
- Show the dog ear cleaner bottle → treat
- Touch the ear gently → treat
- Add a small amount of dog ear cleaning solution → treat
This turns cleaning dogs ears into a predictable, positive pattern.
Make it comfortable: warm the bottle in your hands for 30–60 seconds so the solution isn’t cold. Speak softly, and avoid tight restraint. A gentle hold is enough for most dogs; harsh restraining can increase fear and make future cleanings harder.
Keep sessions short: if your dog struggles, clean one ear today and the other ear tomorrow. Consistency beats intensity.
Know when to stop: if your dog yelps, tries to bite, or seems truly painful, stop immediately. Pain can be a sign the ear needs a vet exam before any more cleaning.
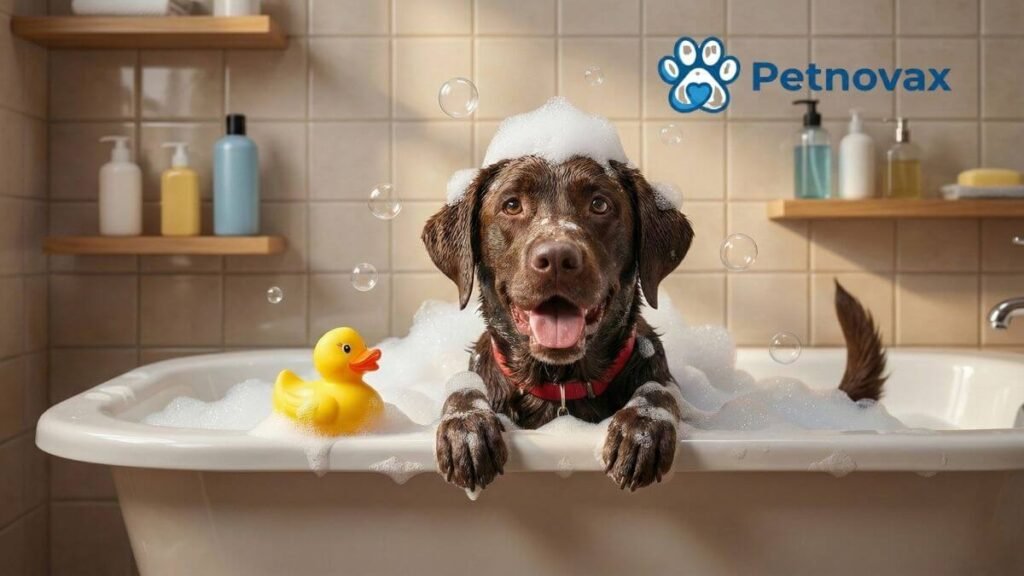
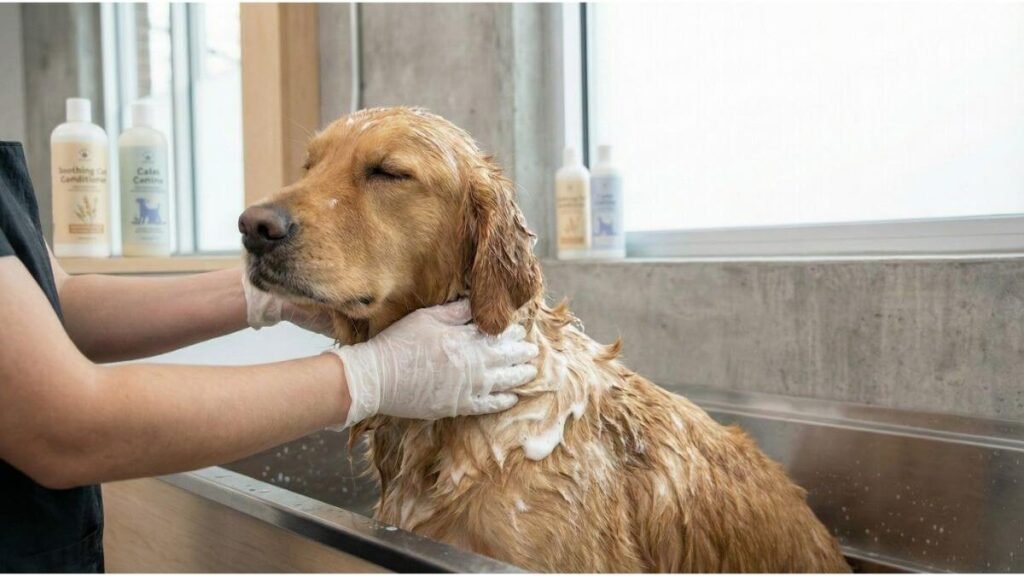
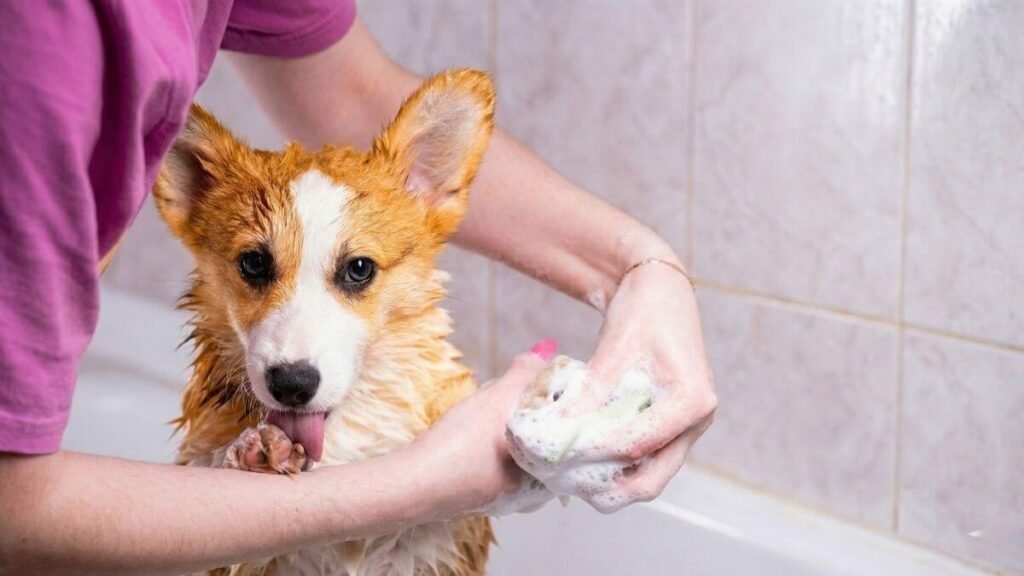
Dog Ear Cleaning After Bathing or Swimming
Water is the primary trigger for a dog ear infection. After a regular bath or a swim, moisture gets trapped in the deep ear canal. This dampness allows bacteria and yeast to multiply rapidly, so following a gentle routine like how to bathe a dog can help reduce leftover moisture.
To prevent this, make dog ear cleaning a standard part of your maintenance routine after your dog gets wet. A quick application of a drying dog ear cleaning solution will evaporate the water and keep the sensitive tissue dry and healthy. Large breed dogs that swim frequently are especially prone to these issues.
Common Mistakes That Make Cleaning Dogs Ears Worse
Even with the best intentions, some mistakes can lead to severe infections. The most common error is using hydrogen peroxide, which is incredibly painful on sensitive tissue. Another mistake is over-cleaning; if the ears are light pink and clean, leave them alone.
Furthermore, ignoring the signs of ear mites or allergies can lead to chronic ear infections. If you see your dog constantly scratching despite your dog ear cleaning efforts, there is likely an underlying condition that needs topical medications or a vet’s help. Finally, never skip the base step of massaging; without this step, the dog ear cleaning solution won’t reach the bottom of the “L” canal.
What Normal Earwax Looks Like (Quick Guide for Concerned Owners)
Many owners worry that any wax means infection, but a small amount can be normal. The key is to look at the color, smell, and your dog’s behavior before you continue dog ear cleaning.
Usually normal (routine maintenance):
- Small amounts of light yellow or light brown wax
- Ear skin looks light pink
- No strong odor
- Your dog isn’t constantly scratching or shaking their head
In these cases, using a gentle dog ear cleaner and wiping only what you can see is often enough for routine care.
Potentially not normal (pause and reassess):
- Strong, foul odor
- Wet discharge, thick gunk, or pus-like fluid
- Intense redness, swelling, or heat
- Your dog is in clear pain, keeps crying, or won’t let you touch the ear
- Constant head shaking or nonstop scratching
If you notice these red flags, don’t push deeper cleaning at home. Even the best dog ear cleaning solution can irritate already inflamed tissue. It’s safer to pause cleaning dogs ears and get a vet check so the underlying cause is treated correctly.
Ear Cleaning vs Ear Infection (How to Tell the Difference)
A dirty ear has wax; an infected ear has inflammation. Dog ear cleaning should remove visible debris easily. However, a dog ear infection is often accompanied by a foul odor, significant redness, and constant pain.
If you notice ear discharge that looks like pus or smells like fermented bread (yeast), stop the dog ear cleaning and seek veterinary checkups. While a dog ear cleaner can prevent issues, it cannot cure severe infections. If your dog has a history of chronic ear infections, your vet may need to investigate underlying conditions like food allergies. In some cases, vets recommend antiseptic ingredients for certain ear and skin issues Learn more in our guide to chlorhexidine for dogs.
When to See a Vet (Don’t Clean at Home First)
Home ear cleaning is only safe when the ear looks mostly normal (light pink, mild wax) and your dog isn’t in pain. If you notice any of the signs below, stop home care and book a vet visit. Cleaning in these situations may aggravate swollen tissue or postpone necessary medical intervention.
- A strong foul odor that returns quickly
- Discharge (wet fluid, thick gunk, pus-like material, or blood)
- Redness, swelling, or heat around the ear flap or canal
- Pain (yelping, crying, snapping, or refusing ear touch)
- Constant head shaking or nonstop scratching
- Head tilt, loss of balance, or “drunk” walking
- Sudden hearing changes or unusual lethargy
- You suspect a foreign object (like a grass seed/foxtail)
- Symptoms last more than 24–48 hours or keep coming back
Quick rule
If you see pain, discharge, or significant redness/swelling, don’t clean the ear at home. Stop, keep the ear dry, and see a vet first. Home cleaning is only for mild wax buildup when your dog is comfortable and the ear looks mostly normal.
FAQs
What is the best dog ear cleaner for sensitive ears?
The best dog ear cleaner for sensitive skin is one that uses gentle ear cleansers like aloe or oatmeal and avoids harsh chemicals.
How often should I do dog ear cleaning?
For most dogs, once a month is a good maintenance routine. Dogs with floppy ears may need it weekly.
Can I use hydrogen peroxide as a dog ear cleaning solution?
No. Never use hydrogen peroxide. It damages the sensitive tissue and can hurt the eardrum.
Is it normal for ears to smell after cleaning dogs ears?
A mild smell is okay, but a foul odor indicates bacteria and yeast and requires a vet.
Is my dog shaking his head after dog ear cleaner normal?
Yes. Shaking helps dislodge the abnormal debris from the deep ear canal.
Should I clean ears during an infection?
Should I clean my ears during an infection? Only if your veterinarian recommends it. Sometimes, cleaning can interfere with topical medications.